Restaurant Photography Solutions
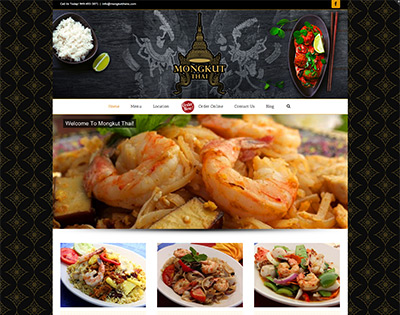
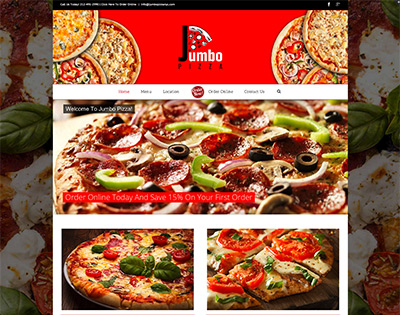
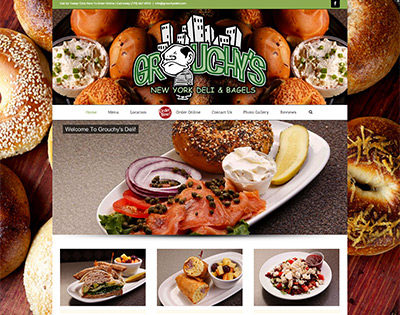
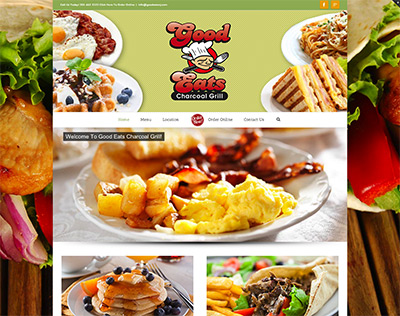
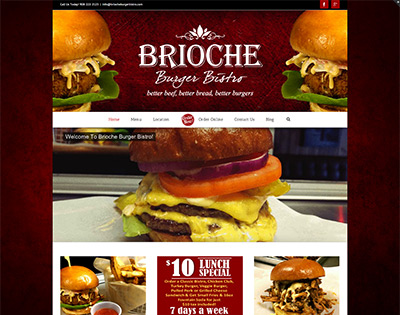
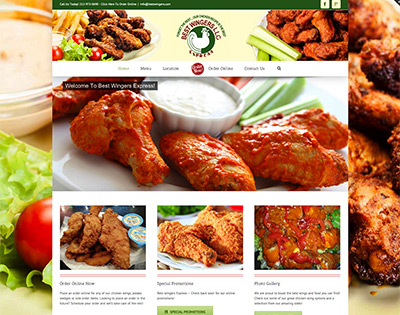
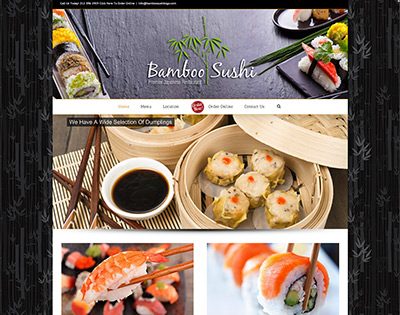
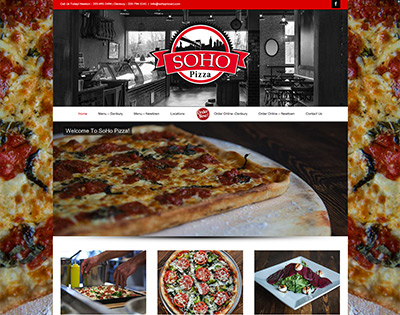
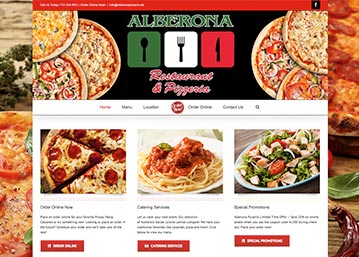
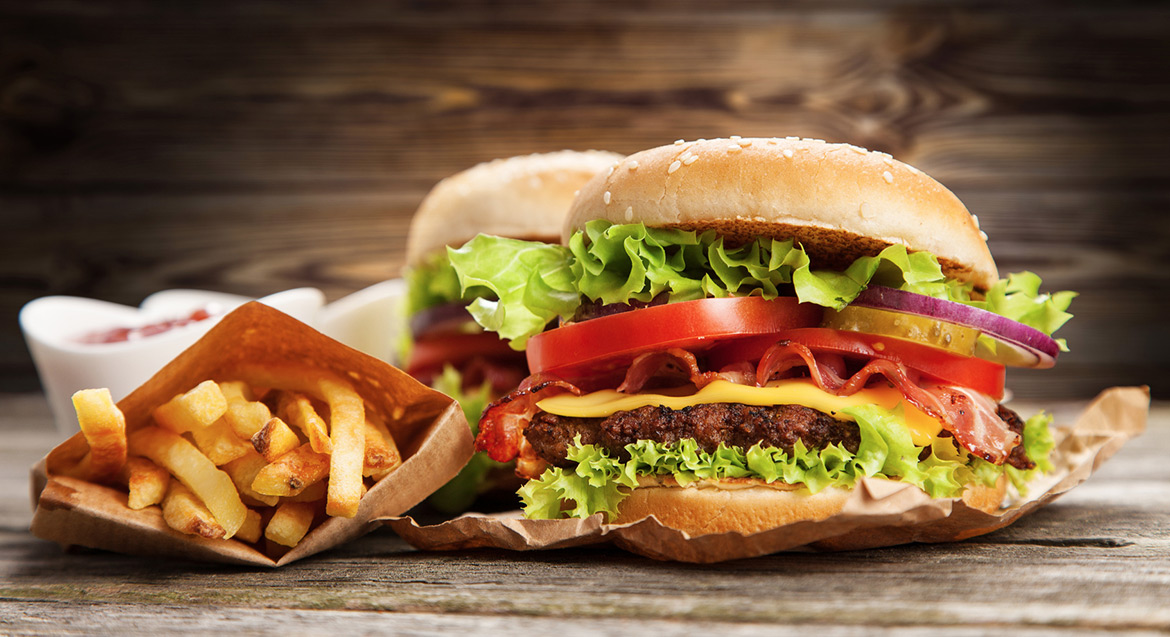
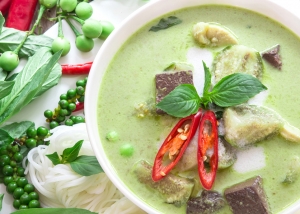
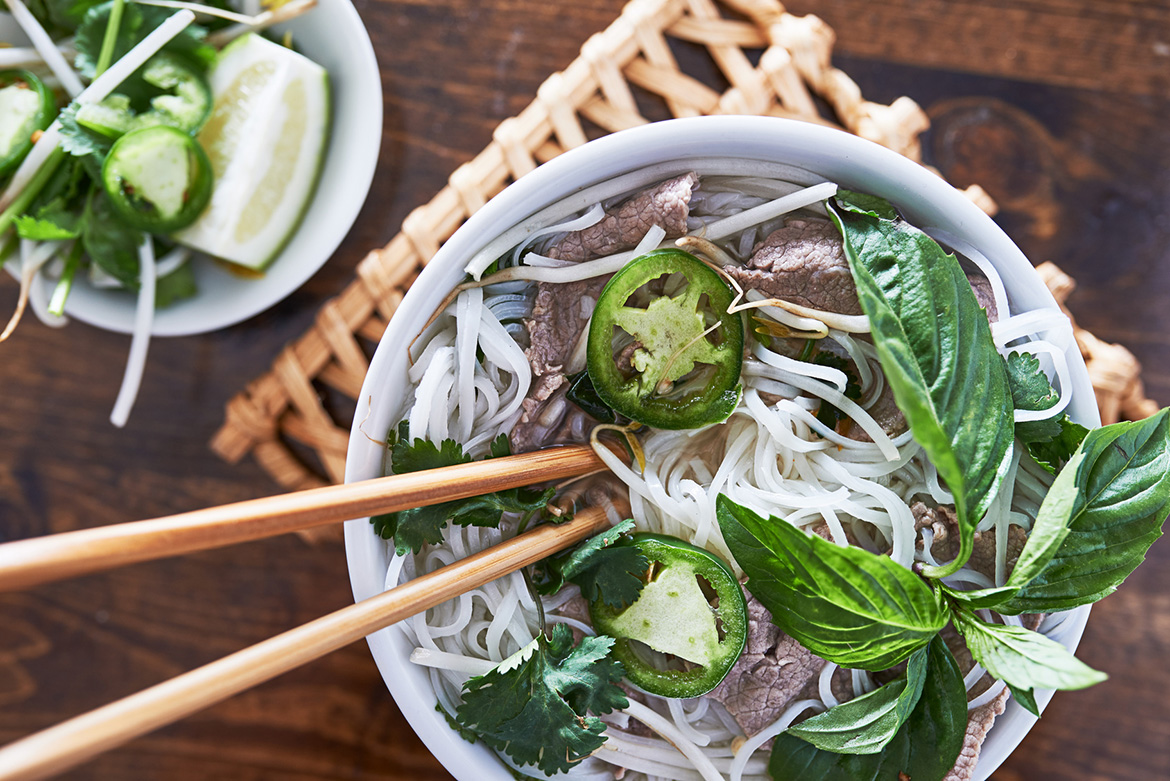
Making your site as beautiful as possible depends mostly on the photography. When you break the site down it consists of your logo and branding, your color choices and photography. A website with poor photography stands out in all the wrong ways. We live in a period where nearly all your customers have a high quality camera on their phone. We have seen Yelp accounts with better photography then the restaurants themselves. There are a few ways to achieve professional quality photography for your restaurant.
- Hire a professional photographer – Pro is great photography – Con is costly to execute
- Do-it-yourself – Pro is more affordable – Con is difficult to execute, compromised quality
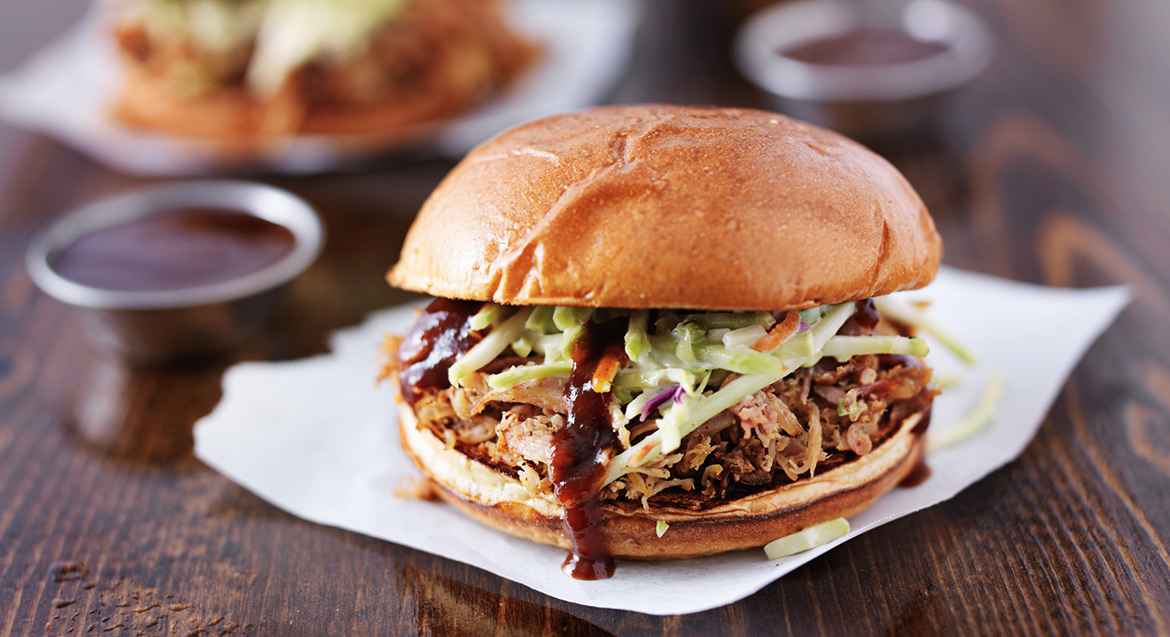
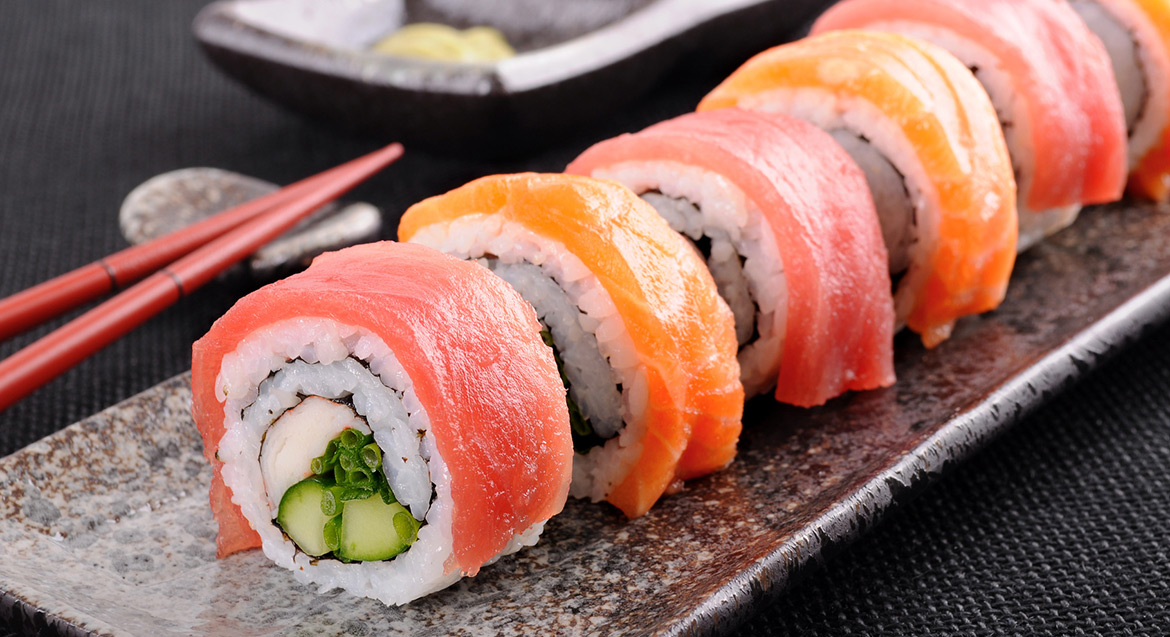
- Stock imagery – Pro most affordable, high quality – Con sometimes hard to find exact matches of dishes, style of restaurant
Our Tips For Great Photography
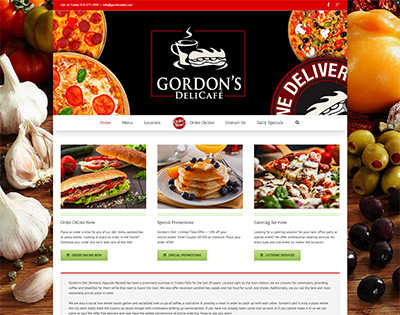
Our proposed solution is a mixture of all three. First we recommend a professional photographer to shoot the exterior and interior of your restaurant. Often clients will have signature dishes prepared that day and perform a combined shoot. We have heard repeatedly the cost to shoot an entire menu is much to high. We suggest a mixture of do-it-yourself and stock imagery for your dishes.
There are places in the theme that require high quality images, such as home page sliders, while other places can pass with lower quality images. The images are dependent on resizing rules for the responsive theme and require the ability to display at high resolutions. We suggest these images are stock images to ensure quality is maintained.
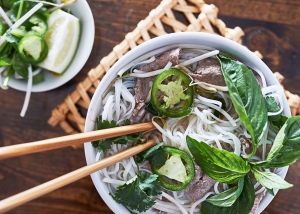
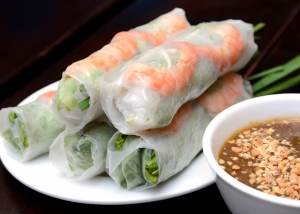
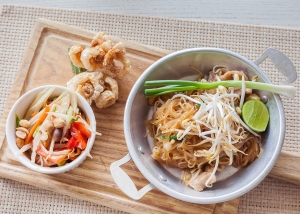
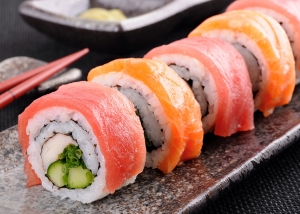
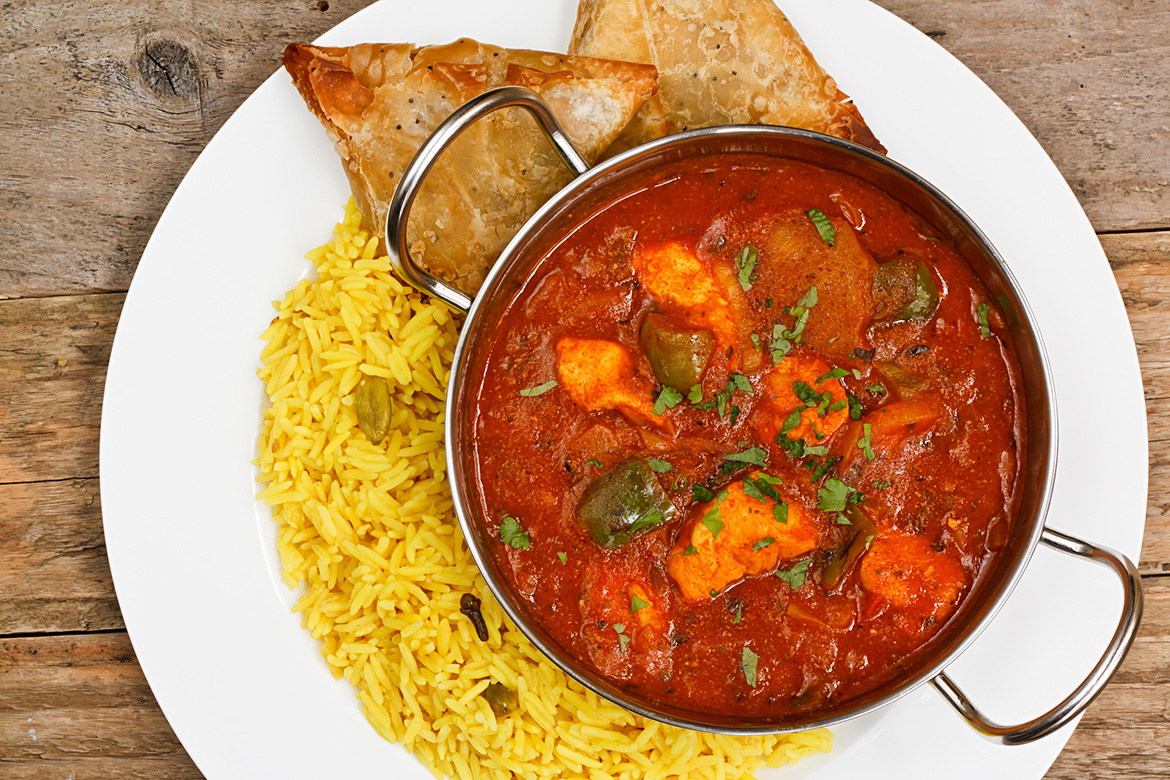
The actual menu items and signature dishes can easily be shot as they are prepared. Typically we can create a placeholder image and use that in place of a pending image. Then as dishes are prepared you can take a moment to take a picture of them off to the side. Menu items are best shot from above. It is a simple image that can be captured with a cell phone. The menu image is small enough that we can use even a regular non-HDR image and see great results.
Client Support For Photography
If you choose to provide photography we suggest a short call to review our theme requirements and photography tips. The call usually is 15 – 30 minutes and can save time, money and frustration.
Photogallery Options
Image Carousel
Always a classic, the image carousel displays image in rotation. Users can click the navigation to toggle through the gallery or the gallery can be set to auto-play. When the image is clicked a lightbox display pop launches with a larger view of the image.-Roll-over effects are also available.


Static Gallery
Static galleries can be incorporated into any of the pages as group items or as single, stand alone images, These images have several effects that can be applied to enhance style. Roll-over effects, shadowing, glow, zoom in or out are all standard features. When clicked, these images launch into a lightbox which can also be disabled.
Categorized Gallery
The Categorized Gallery is most comprehensive of our galleries. This system treats each image as an individual post. This allows the image to either open in a lightbox or as a single blog post called a portfolio item. Having the image on a blog page allows for custom fields to be applied to that page. You can use the custom filed to add information about the image such as nutritional information, ingredients list, or any other relevant information needed for the image.
The categorized gallery also used the category and tagging features of WordPress blog system. This allows you to categorize the images which activates the gallery filter system. Displayed above the gallery, the filter allows users to select which image category to display. All galleries load on the “All” setting which displays the entire gallery.
Click the filter below to see how it works.

